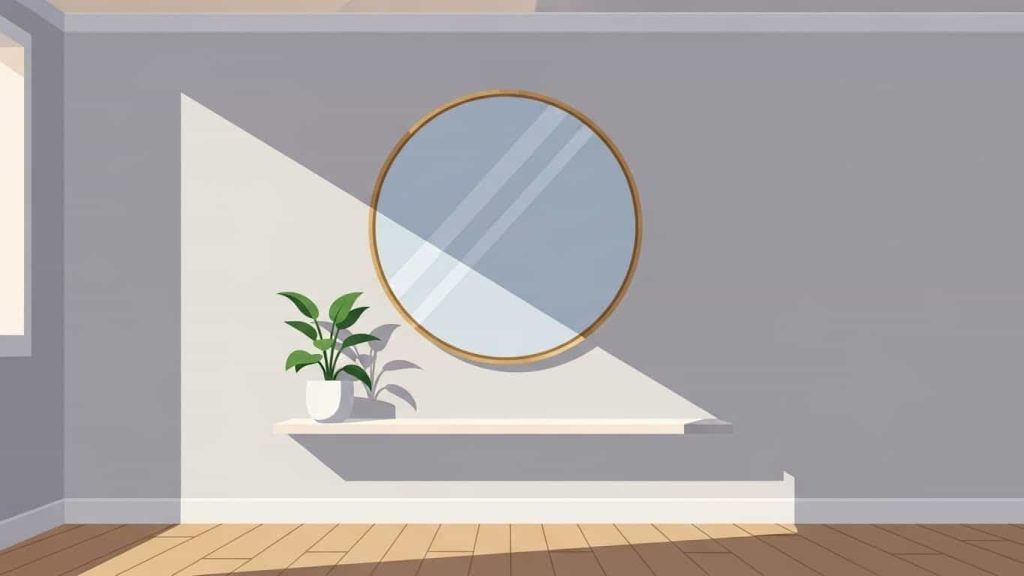
Hanging a large mirror can transform any room by amplifying light, creating the illusion of space, and adding a touch of elegance. However, the challenge lies in doing so without damaging your walls—especially if you’re renting or want to keep your drywall pristine. This guide will walk you through safe, damage-free methods to hang your mirror while also recommending tools and materials to make the process easier.
Why Hanging a Large Mirror Can Be Tricky
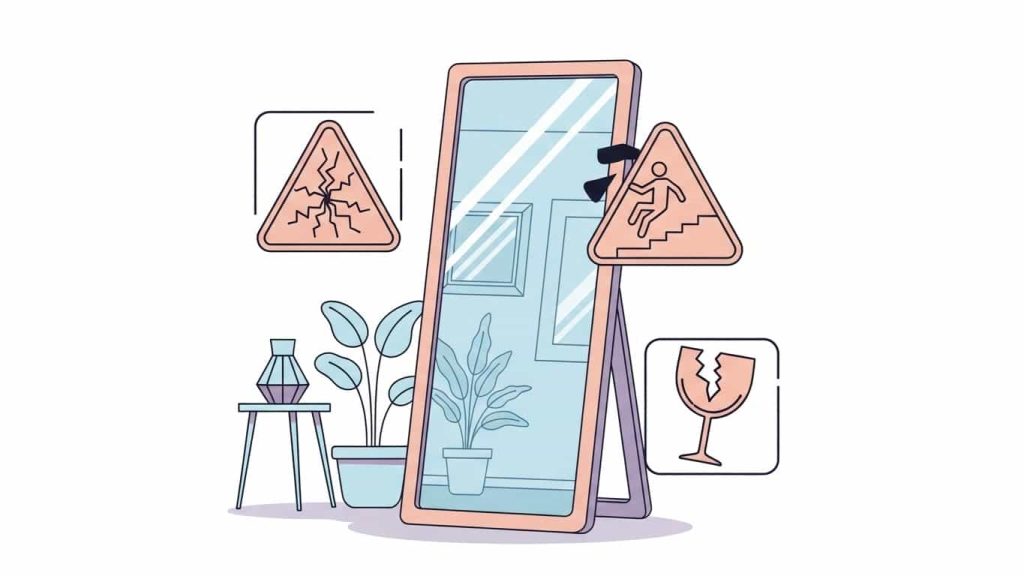
Large mirrors, often weighing between 30 to 50 pounds, require careful installation to avoid:
- Wall damage like broken drywall or cracked plaster.
- Mirror damage such as shattered glass.
- Safety hazards from falling mirrors.
- Structural issues like damage to wall studs or interference with electrical wiring.
But don’t worry! With the right tools and techniques, you can hang your mirror securely and beautifully.
Tools and Materials You’ll Need
Before you start, gather these essentials:
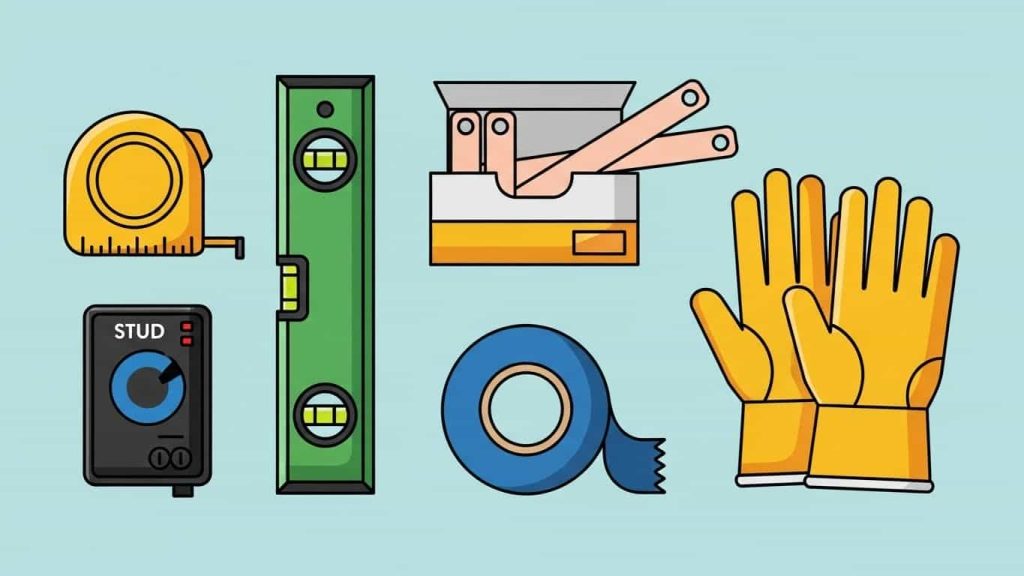
- Measuring tape
- Level
- Pencil or painter’s tape
- Stud finder (optional)
- Heavy-duty adhesive strips (like 3M Command Strips)
- Mirror mounting clips (non-invasive options)
- French cleats (for stud-mounted support)
- Safety gloves (to handle glass securely)
- Double-sided mounting tape (optional for extra stability)
Recommended Tools to Buy:
Advertisement


Step 1: Assess Your Wall Type and Mirror Weight
Before choosing a hanging method, identify your wall type and the weight of your mirror:
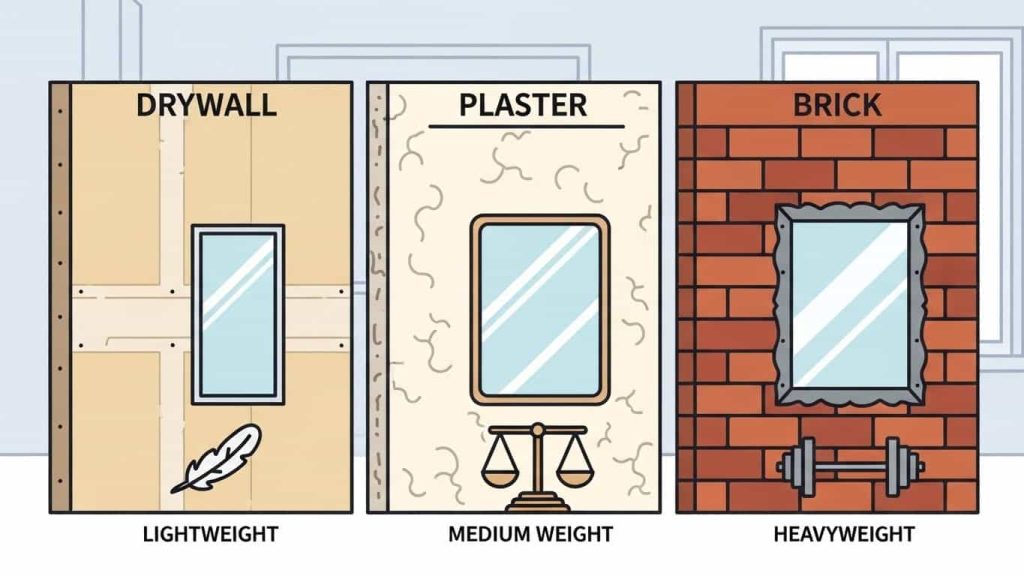
- Wall Types:
- Drywall: Common in modern homes but requires careful handling.
- Plaster: Found in older homes; more fragile.
- Brick or Concrete: Strong but harder to drill into.
- Mirror Weight:
- Light (<15 pounds): Use adhesive strips or hooks.
- Medium (15-35 pounds): Use multiple adhesive strips or wall anchors.
- Heavy (>35 pounds): Opt for stud-mounted solutions like French cleats.
Step 2: Use Heavy-Duty Adhesive Strips (For Light to Medium Mirrors)
Best for: Mirrors up to 30 pounds on drywall surfaces.

Procedure:
- Clean the Surface: Wipe the wall and the back of the mirror with rubbing alcohol.
- Apply Adhesive Strips: Use strips rated for heavy weight. Attach one side to the mirror and press firmly.
- Position and Press: Mark the desired position with a level and pencil.
- Mount the Mirror: Press the mirror against the wall for at least 30 seconds.
📝 Pro Tip: Allow adhesive strips to bond for 1-24 hours before fully releasing the mirror.
Step 3: Try the French Cleat System (For Large or Heavy Mirrors)
Best for: Mirrors over 30 pounds.
A French cleat system evenly distributes weight and minimizes wall damage.
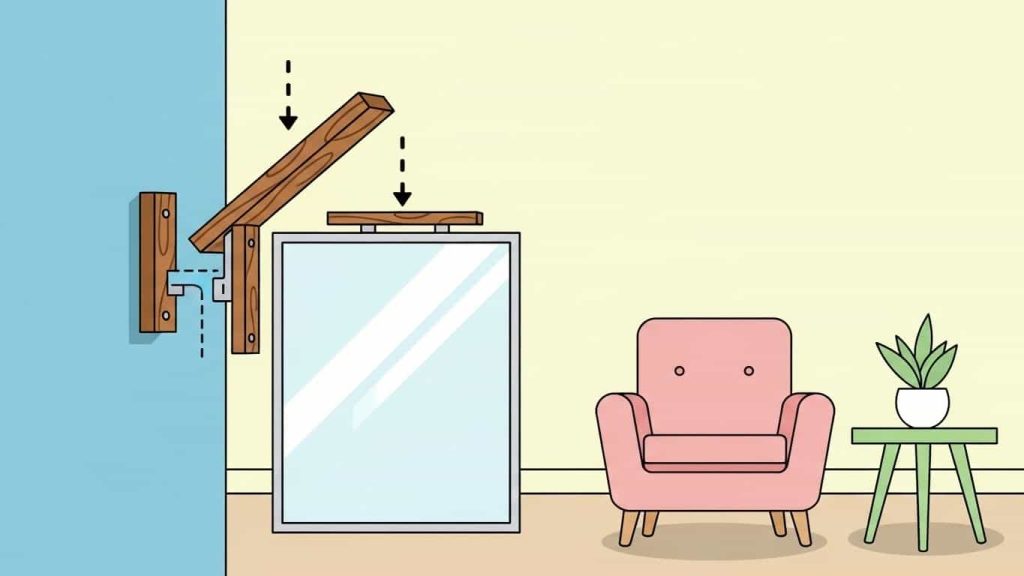
Procedure:
- Find Wall Studs: Use a stud finder to locate secure mounting spots.
- Mount the Wall Cleat: Attach one piece of the cleat to the wall using screws or drywall anchors.
- Attach the Mirror Cleat: Secure the matching piece to the back of the mirror.
- Hang the Mirror: Hook the mirror onto the cleat and ensure it’s level.
🔒 Why It Works: Minimal holes, strong support, and easy removal.
Step 4: Use Mirror Clips or Brackets (Low-Impact Option)
Mirror clips are a simple, low-damage solution for securing mirrors.

Procedure:
- Mark Your Position: Use painter’s tape to ensure accurate alignment.
- Install Bottom Clips: Use small drywall anchors if necessary.
- Slide the Mirror: Carefully place the mirror into the bottom clips.
- Install Top Clips: Secure the mirror in place with top clips.
🛠️ Tip: Use rubber-padded clips to prevent scratches.
Step 5: Lean the Mirror (No Wall Damage)
Best for: Very large mirrors or renters.
Leaning a mirror against the wall is a stylish, damage-free option.

How to Secure It Safely:
- Choose a Non-Slip Surface: Use a non-slip rug or pad to prevent slipping.
- Install Anti-Tip Wall Brackets: Secure the mirror to the baseboards for extra stability.
- Add Bumpers: Use bumpers on the corners to prevent scuffing the wall.
Bonus Tips for a Professional Finish
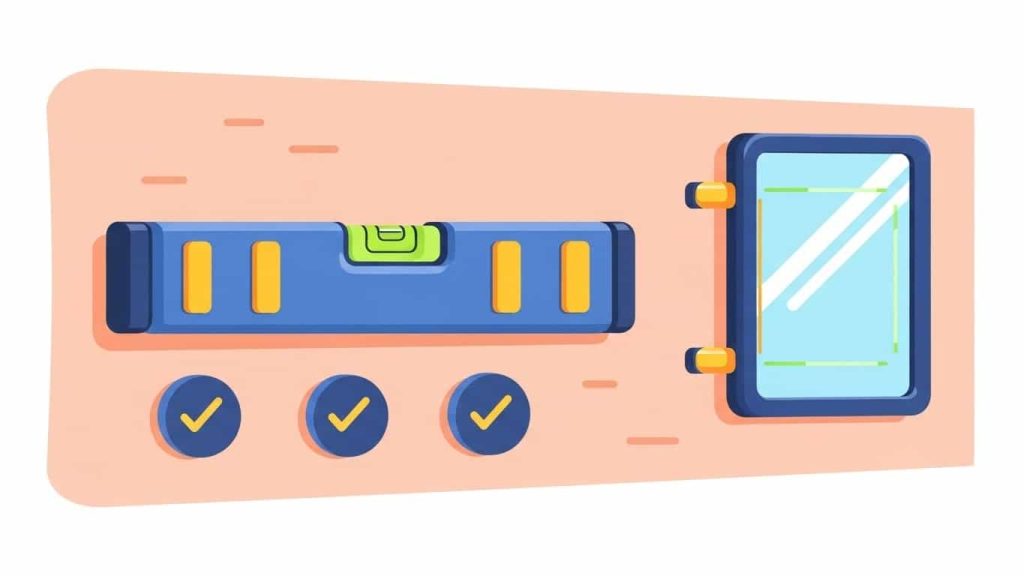
- Use a Level: Ensure the mirror is perfectly straight.
- Protect Your Floor: Place padding underneath when moving heavy glass.
- Follow Weight Ratings: Always adhere to the manufacturer’s guidelines for strips or brackets.
- Read Instructions: Carefully follow the instructions for adhesive or mounting kits.
Final Thoughts
Hanging a large mirror without damaging your walls is easier than you think! Whether you’re a renter avoiding security deposit deductions or a homeowner preserving wall integrity, there’s a method for you. From adhesive strips to French cleats, you can achieve a secure and stylish installation.