A mirror is more than just a reflective surface; it’s a functional piece of decor that can brighten a room and provide a sense of space. Whether you’re buying a new vanity mirror, a decorative wall piece, or a simple full-length mirror, its quality can significantly impact your satisfaction. A high-quality mirror provides a crisp, accurate reflection, while a poor-quality one can be a source of daily frustration with distortions and defects.
But how can you tell a good mirror from a bad one? You don’t need specialized equipment to perform a reliable mirror quality inspection. This guide will provide practical tips and methods to test the quality of a mirror, ensuring you choose a product that offers a perfect reflection for years to come.
Understanding What Makes a Quality Mirror

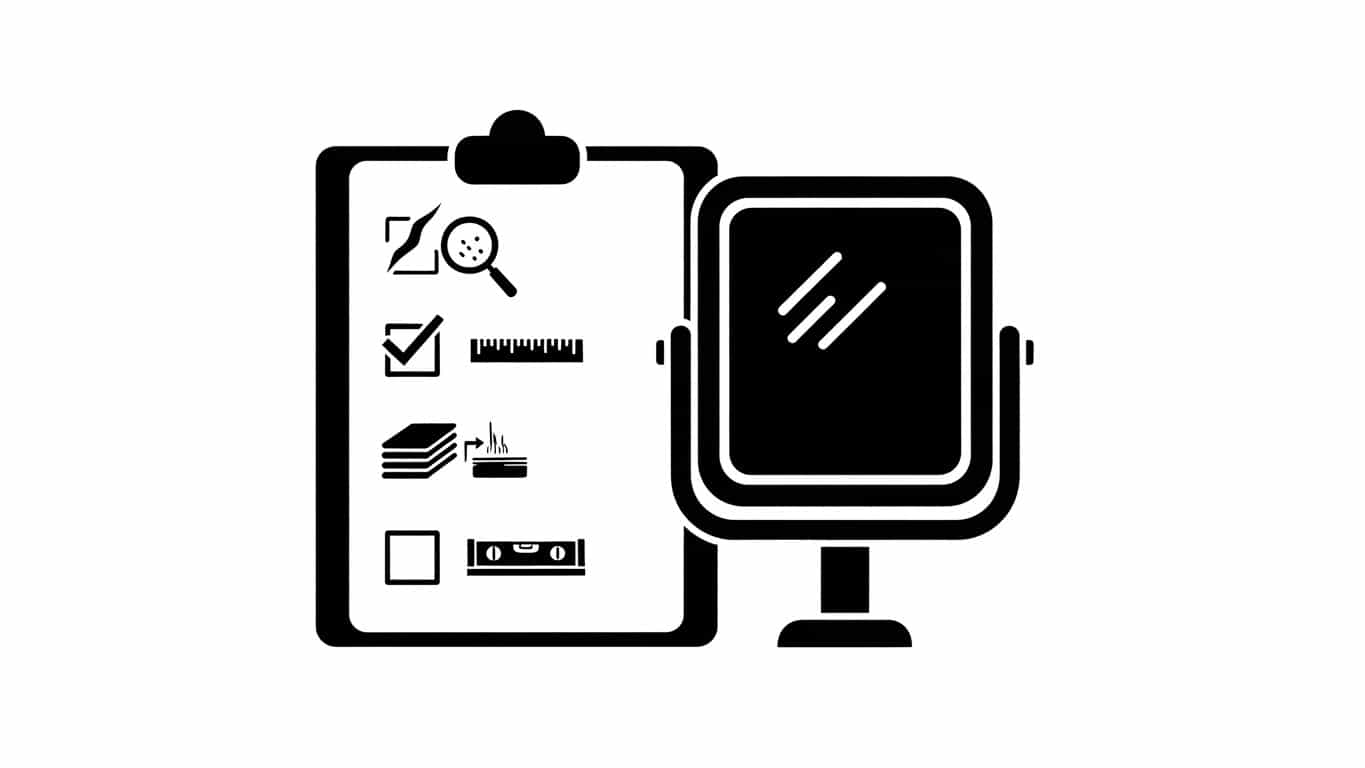
Before diving into testing methods, it’s helpful to know what you’re looking for. The quality of a mirror is determined by several factors, including the thickness and type of glass, the quality of the reflective coating, and the manufacturing process.
A standard mirror is made by applying a reflective coating, typically silver, to the back of a sheet of glass. This silver layer is then protected by a layer of copper and a coat of paint to prevent oxidation and damage. High-quality mirrors use thicker glass and a more uniform, durable coating, which results in a clearer, more accurate reflection.
Visual Inspection: The First Step in a Mirror Quality Test
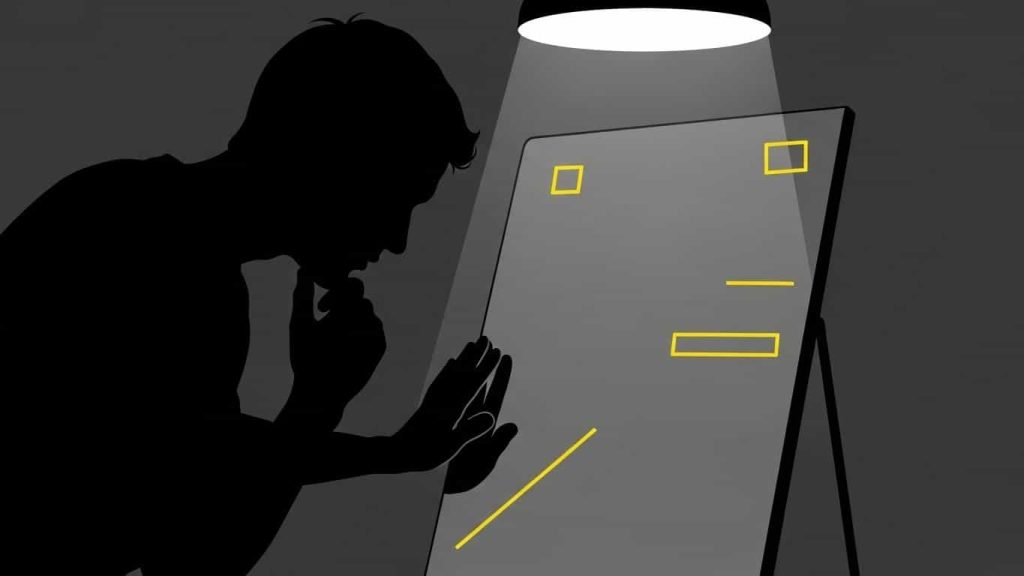
Your first assessment can be a simple visual check. Stand a few feet away from the mirror and look at its overall appearance in a well-lit area.
Look for Surface Blemishes

Scan the entire surface for any obvious flaws. Common defects to look for include:
- Scratches: Check for any fine lines or marks on the glass surface. Run your hand gently over the surface to feel for any physical imperfections.
- Black Spots (Crazing): These are small black dots or web-like patterns that appear when the silver backing has started to deteriorate or oxidize. This is a clear sign of a low-quality or aging mirror.
- Cloudiness or Haziness: The reflection should be bright and clear. A hazy or cloudy appearance can indicate a poor-quality coating or moisture trapped between the glass and the backing.
Examine the Edges
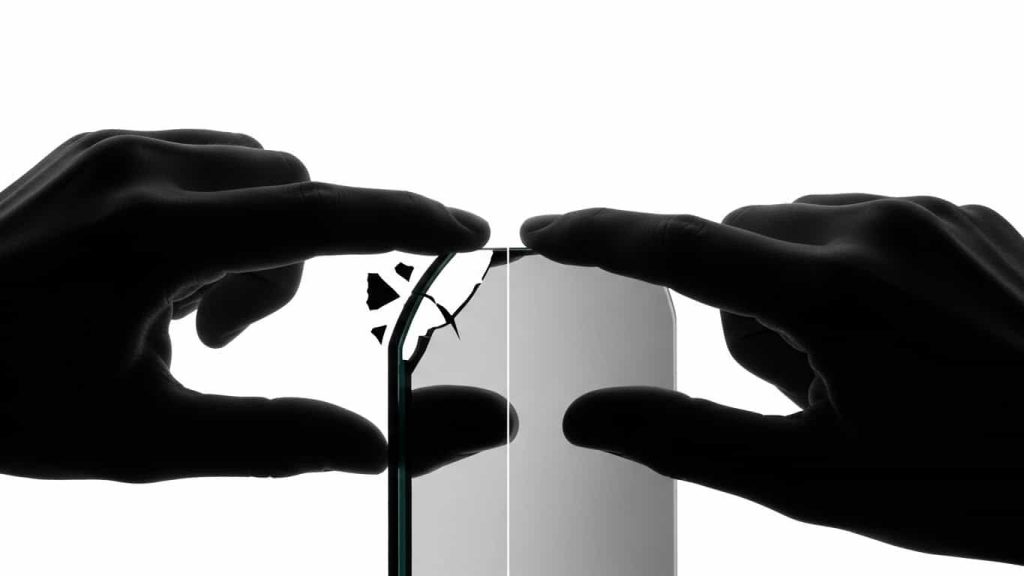
The edges of a mirror can reveal a lot about its craftsmanship. A high-quality mirror will have smooth, polished, or beveled edges. Rough or chipped edges not only look unfinished but can also be a safety hazard. Check for any signs of de-silvering or flaking along the edges, as this is where deterioration often begins.
The Reflection Test: Checking for Distortions
This is the most critical part of any mirror quality inspection. A good mirror should provide a true-to-life reflection without any warping or distortion.
The Straight Line Test
This is one of the easiest and most effective mirror testing methods.
- Stand directly in front of the mirror, about two to three feet away.
- Hold up a straight object, like a ruler, a yardstick, or even a piece of paper with a straight edge.
- Hold the object both vertically and horizontally, and look at its reflection. The reflected lines should appear perfectly straight.
- Slowly move the object across the mirror’s surface, observing its reflection the entire time. If the lines in the reflection appear wavy, curved, or bent at any point, the mirror glass is not perfectly flat, indicating lower quality. This “funhouse effect” is a common defect in cheap mirrors.
The Grid Test

For a more thorough check, you can use a grid pattern. You can find printable grid patterns online or use a piece of graph paper.
- Hold the grid pattern up to the mirror.
- Examine the reflection of the grid lines. All lines—both horizontal and vertical—should remain straight and evenly spaced.
- Pay close attention to the intersections. Any distortion, pinching, or swelling in the grid pattern indicates a flaw in the mirror’s flatness.
Assessing Glass Thickness and Flatness

The thickness of the mirror glass plays a significant role in its quality. Thicker glass is more rigid and less prone to bending or warping, which is a primary cause of distortion.
Standard mirrors are often made with 1/8-inch glass. High-quality mirrors typically use 1/4-inch glass, which provides superior stability and a flatter surface. While you may not be able to measure it directly in a store, you can often feel the difference in weight and rigidity. A heavier, more solid-feeling mirror is likely made from thicker glass.
To test for flatness across a larger surface, stand several feet back and look at the reflection of objects in the background, especially those with straight lines like door frames, window sills, or wall corners. As you move from side to side, these lines should remain straight and true in the reflection. If they appear to bend or curve as you move, the mirror is not perfectly flat.
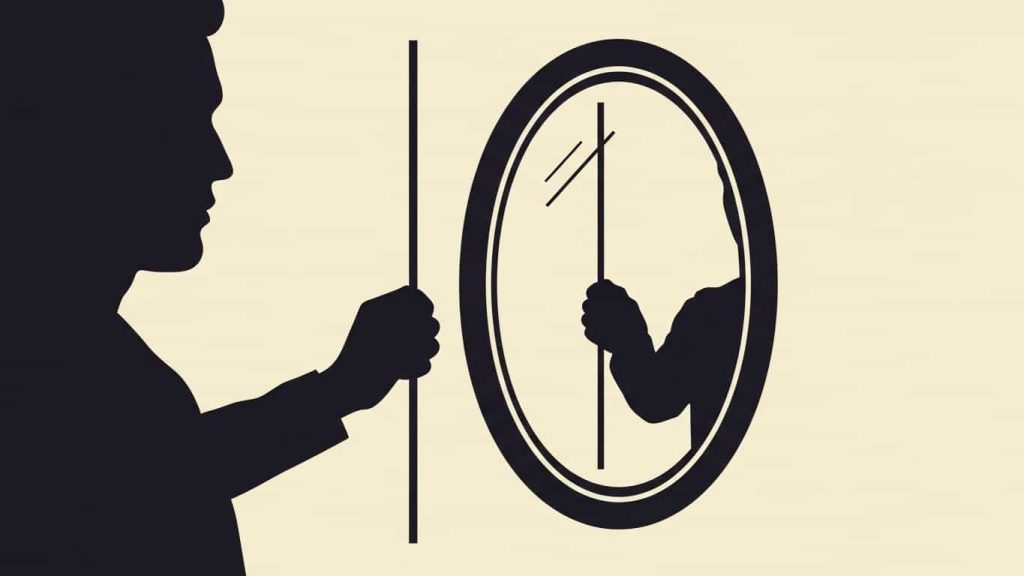
The Fingernail Test for Two-Way Mirrors

This specific test is not for regular mirrors but is a common way to identify a two-way mirror, which is sometimes a concern in unfamiliar places like hotel rooms or rentals. It’s a simple method to check how the mirror is constructed.
- Place the tip of your fingernail against the mirror’s surface.
- In a standard, second-surface mirror (where the reflective coating is on the back of the glass), you will see a gap between your fingernail and its reflection. This gap is the thickness of the glass itself.
- In a first-surface mirror, where the coating is on the front, or in a two-way mirror, your fingernail and its reflection will appear to touch with no gap.
While first-surface mirrors are used in optical instruments, they are rare in residential settings. If you find a “no-gap” mirror in a private space, it could be a two-way mirror and warrants caution.
Key Takeaways for Checking Mirror Quality
Choosing a high-quality mirror ensures you get a clear, accurate reflection without annoying distortions. When you’re ready to buy, remember these simple testing methods:
- Visually Inspect: Look for scratches, black spots, and cloudy areas on the surface and check for smooth, finished edges.
- Check for Distortion: Use a straight edge or a grid pattern to see if the reflection remains true and unwarped across the entire surface.
- Assess Flatness: Observe the reflection of straight lines in the background as you move. They should not bend or curve.
- Consider Thickness: A heavier, more rigid mirror is likely made of thicker glass (1/4-inch is ideal) and will be less prone to distortion.
By performing these simple checks, you can confidently evaluate the quality of any mirror and make an informed decision, ensuring your new addition provides a perfect view for years to come.