
Last Updated on February 28, 2026 by Umar Farooq
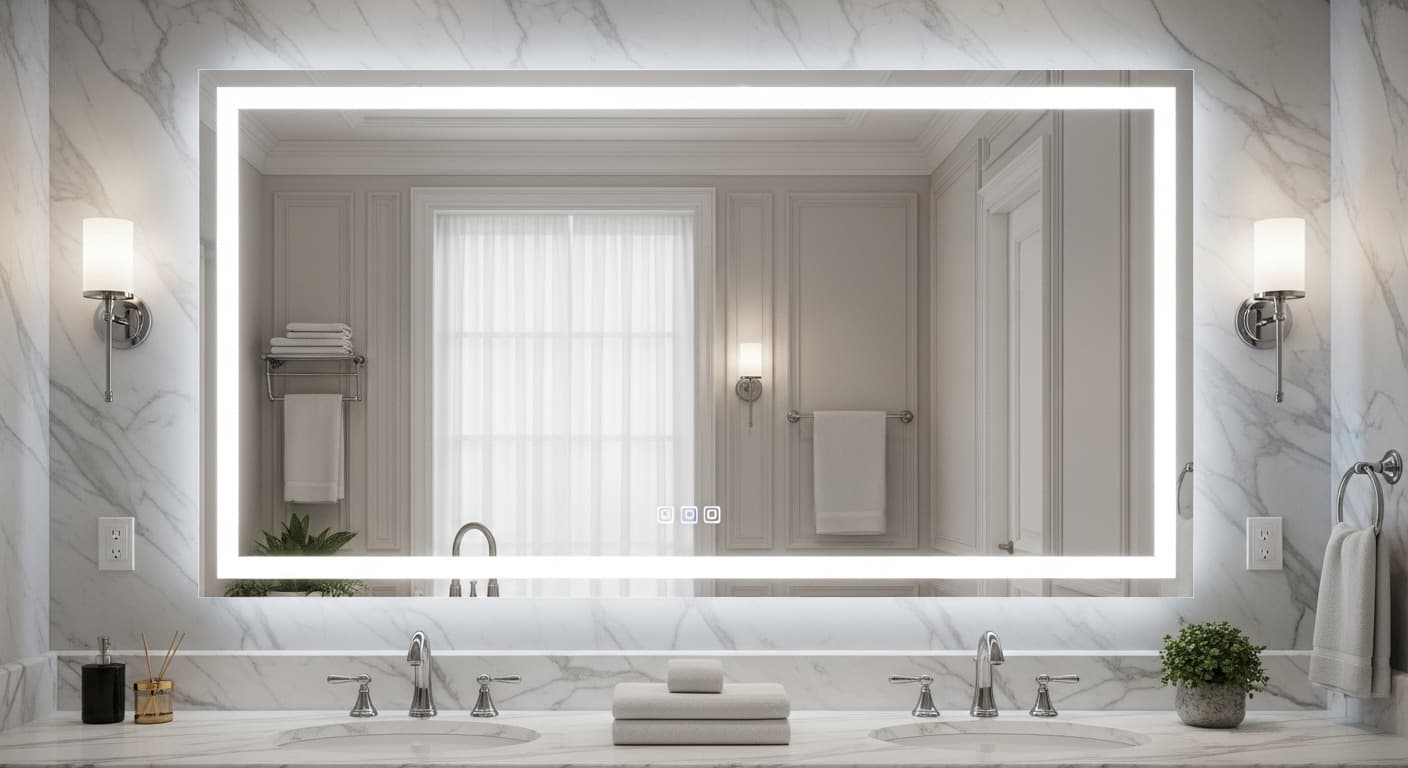
You installed a sleek LED bathroom mirror with anti-fog technology, expecting a premium experience every morning. But now the lights flicker, the glass still fogs up, or, worse, nothing works at all.
These high-tech mirrors can transform your bathroom routine, but when something goes wrong, it’s frustrating. The good news? Most issues have simple fixes you can handle yourself.
Disclaimer: Always prioritize safety. If you are uncomfortable with any electrical work, please consult a qualified electrician.
This guide walks you through the most common problems with LED and anti-fog mirrors, providing clear troubleshooting steps for each. Whether you’re dealing with electrical glitches, foggy glass, or installation mishaps, you’ll find practical solutions here. Let’s get your mirror working perfectly again.
Common Problems with LED & Anti-Fog Mirrors
Before diving into solutions, it helps to identify what’s actually going wrong. Problems typically fall into three categories: LED issues, anti-fog malfunctions, and general electrical or installation errors.
LED Issues
- Lights not turning on: You flip the switch, and nothing happens. This is often the most alarming problem because it suggests a complete failure.
- Flickering or dim lights: The LEDs work but flicker annoyingly or emit weak light that’s barely functional.
- Uneven lighting: Some sections of the mirror are bright while others are dim or completely dark, creating an inconsistent appearance.
- Discolored or flickering light: Over time, LEDs can naturally dim or change color temperature, signaling the end of their lifespan.
Anti-Fog Issues
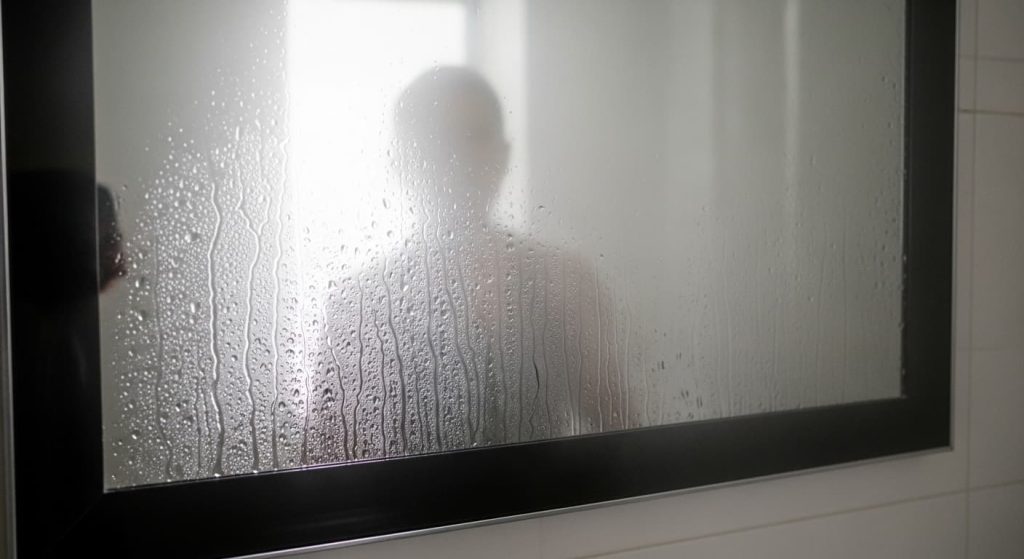
- Mirror still fogs up: Despite having anti-fog technology, condensation forms on the glass surface during or after hot showers.
- Heater not warming properly: The heating element activates but doesn’t generate enough warmth to prevent fogging. Depending on your model, this element may be a heating pad on the back or a conductive coating on the glass itself.
- Short cycles or inconsistent performance: The anti-fog feature works sometimes but not consistently, or shuts off too quickly.
General Electrical or Installation Problems
- Switch problems: The control switch doesn’t respond, feels loose, or makes unusual clicking sounds.
- Loose connections: Wires behind the mirror aren’t properly secured, causing intermittent functionality.
- Power supply issues: The mirror isn’t receiving sufficient voltage or is incompatible with your home’s electrical system.
Troubleshooting LED Problems

LED failures are among the most common complaints, but they’re usually fixable with basic troubleshooting.
Check the Power Source
Start with the simplest explanation. Verify that the light switch is actually on—it sounds obvious, but it’s easy to overlook. If you have a dimmer switch, make sure it’s turned up fully, as some LED mirrors don’t function properly when dimmed below a certain threshold. If you have an older dimmer designed for incandescent bulbs, it may be incompatible, causing flickering or humming. Consider upgrading to an LED-compatible dimmer.
Next, check your circuit breaker or fuse box. A tripped breaker could cut power to the entire bathroom circuit. If you find a tripped breaker, reset it and test the mirror again. If it trips immediately, you likely have a more serious electrical issue that requires professional attention.
Test other electrical devices in the bathroom to confirm power is flowing. If your outlets work but the mirror doesn’t, the problem is isolated to the mirror itself.
Inspect the Wiring
Turn off the power at the breaker before inspecting any wiring—safety comes first. Remove the mirror from the wall if possible, or access the connection box behind it. Take a photo of the wiring configuration with your phone before disconnecting anything. This will be an invaluable reference when you reconnect it.
Look for loose wire connections. Wires should be securely fastened with wire nuts or terminal blocks. Give each connection a gentle tug to ensure it’s tight. Check for any visible damage such as frayed wires, burn marks, or corrosion. These signs indicate that wiring needs immediate repair or replacement.
Pay special attention to the ground wire. A loose or disconnected ground can cause all sorts of electrical problems and safety hazards.
Replace or Repair Components
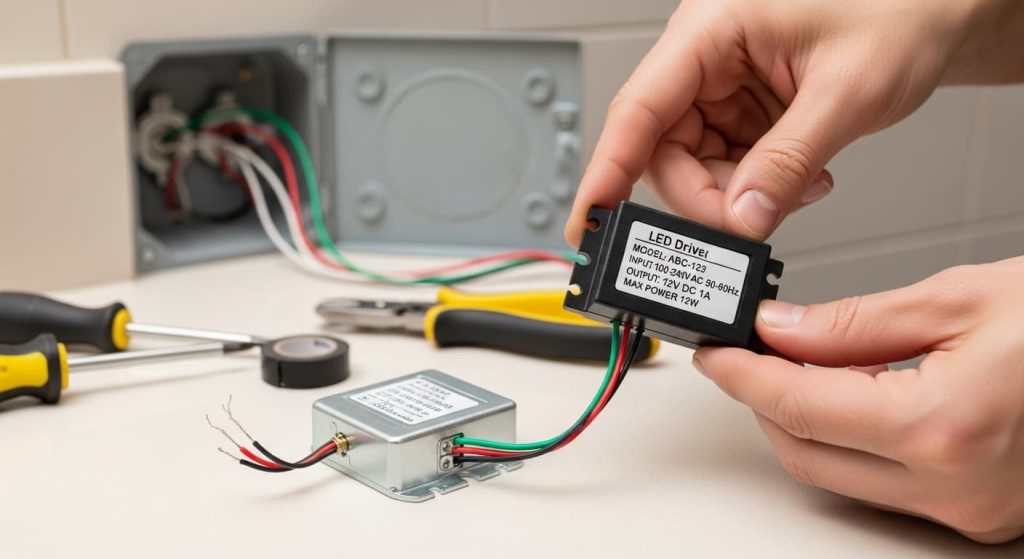
LED mirrors contain two main components that commonly fail: the LED strips themselves and the power driver (also called a transformer or power supply). This driver is often a small black box with a nameplate listing the input (e.g., 120V AC) and output (e.g., 12V DC) voltage.
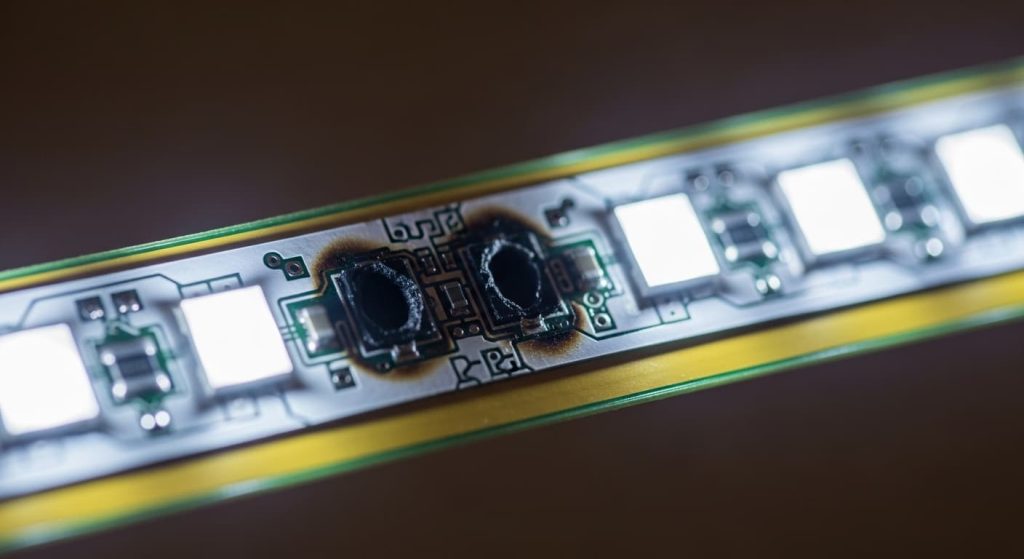
LED strips rarely fail unless physically damaged. However, individual LEDs can burn out, creating dark spots. If only one section is dark, the strip in that area likely needs replacement. Contact your mirror’s manufacturer for replacement strips that match your model. When replacing, pay close attention to the polarity (+ and -). Reversing the connection can prevent the LEDs from lighting up or damage them.
Power drivers are more prone to failure. They convert your home’s AC power to the low-voltage DC power that LEDs require. Signs of a failing driver include flickering lights, buzzing sounds, or complete failure to illuminate. Replacing a driver is straightforward—just match the voltage and wattage specifications of your original unit.
Most manufacturers provide replacement parts and installation guides. If your mirror is still under warranty, contact the manufacturer before purchasing any components.
Troubleshooting Anti-Fog Problems
When your anti-fog feature stops working, mornings become frustrating. Here’s how to diagnose and fix the issue.
Check the Heater Pad
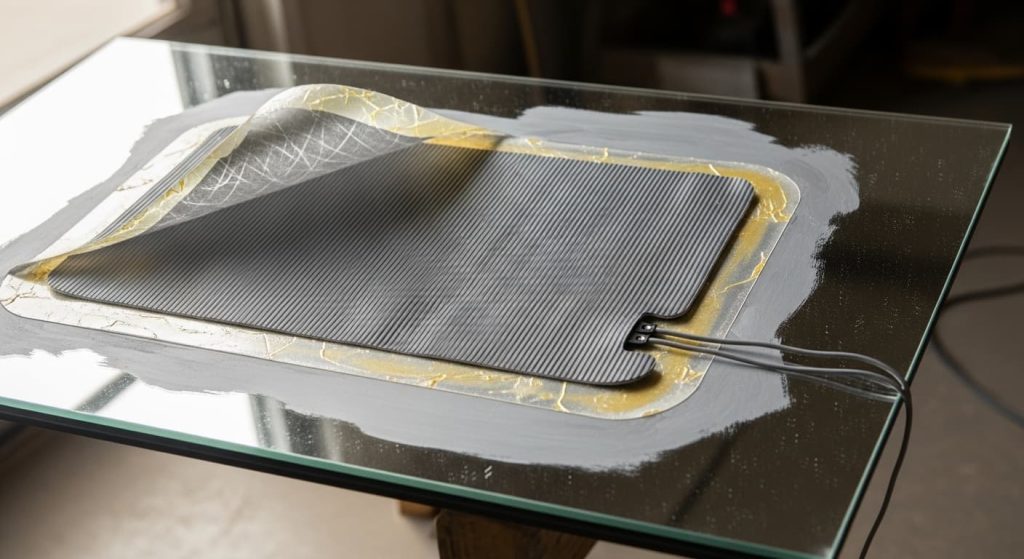
The anti-fog function relies on a heating element attached to the back of the mirror. This element warms the glass surface slightly, preventing condensation from forming.
Remove the mirror from the wall and inspect the heating pad. It should firmly adhere to the entire back surface of the mirror. If it’s peeling away or has gaps, it won’t distribute heat evenly. Clean both surfaces with rubbing alcohol and reattach the pad using heat-resistant adhesive if necessary.
Look for visible damage like tears, burn marks, or disconnected wires. A damaged heating pad needs replacement. These pads are typically specific to your mirror model, so contact the manufacturer for the correct part.
Test Power & Switch
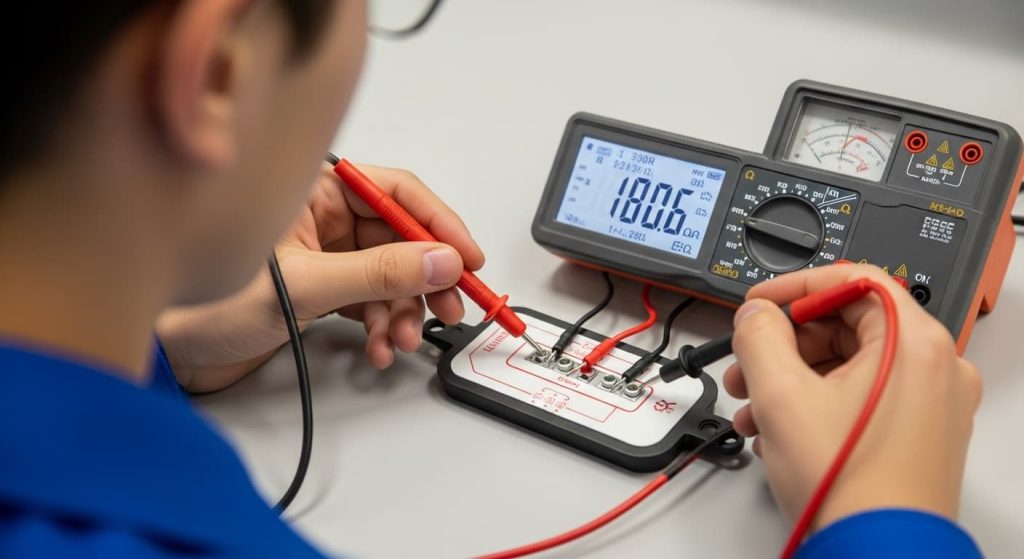
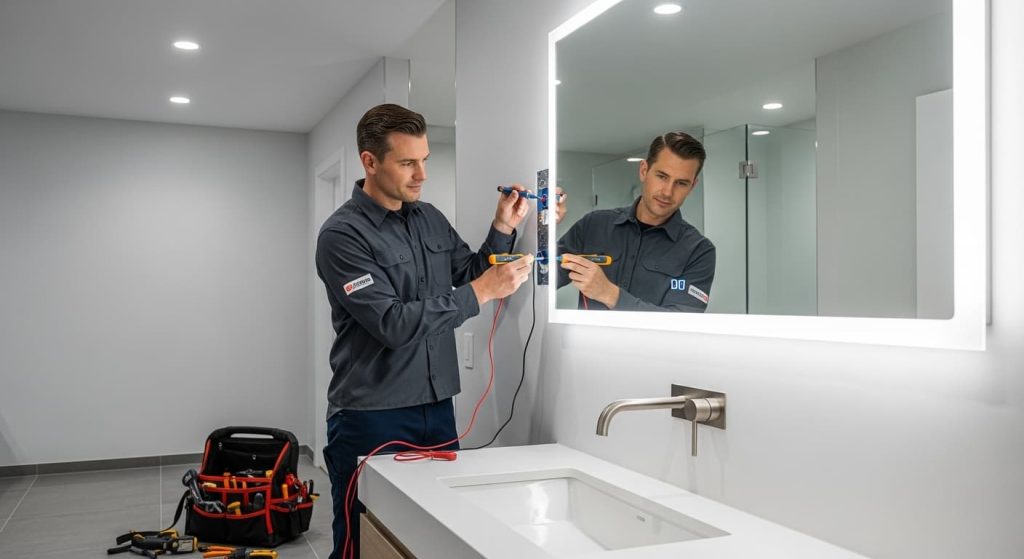
The anti-fog heater requires electricity to function. Verify that power is reaching the heating element by testing it with a multimeter (set to measure resistance). A functioning heating pad will show a specific resistance (ohms) value. If the meter reads ‘OL’ (over limit) or ‘0’, it indicates an open or short circuit, meaning the pad is faulty. If you’re not comfortable using a multimeter, skip to the next section or call a professional.
Check whether your anti-fog feature has a separate switch or if it activates automatically. Some models turn on with the bathroom light, while others have a dedicated control. Make sure you’re activating it correctly according to your mirror’s design.
If the switch feels loose or unresponsive, it may need replacement. Switches are relatively inexpensive and easy to install if you have basic electrical skills.
Clean & Maintain

Sometimes the “malfunction” isn’t a malfunction at all—it’s buildup on the mirror surface preventing the anti-fog system from working effectively.
Cleaning products that leave residues, especially those containing wax or oil, can interfere with heat distribution. Clean your mirror with a solution of equal parts white vinegar and water, or use a specialized glass cleaner designed for bathroom mirrors. Avoid abrasive materials that could scratch the surface.
Hard water deposits can also create insulating layers that prevent proper heat transfer. Remove these deposits with a solution of vinegar and water, letting it sit for several minutes before wiping clean.
Regular cleaning maintains the effectiveness of your anti-fog system and extends its lifespan.
Common Installation Mistakes
Many mirror problems stem from improper installation rather than defective components.
Improper Wall Mounting
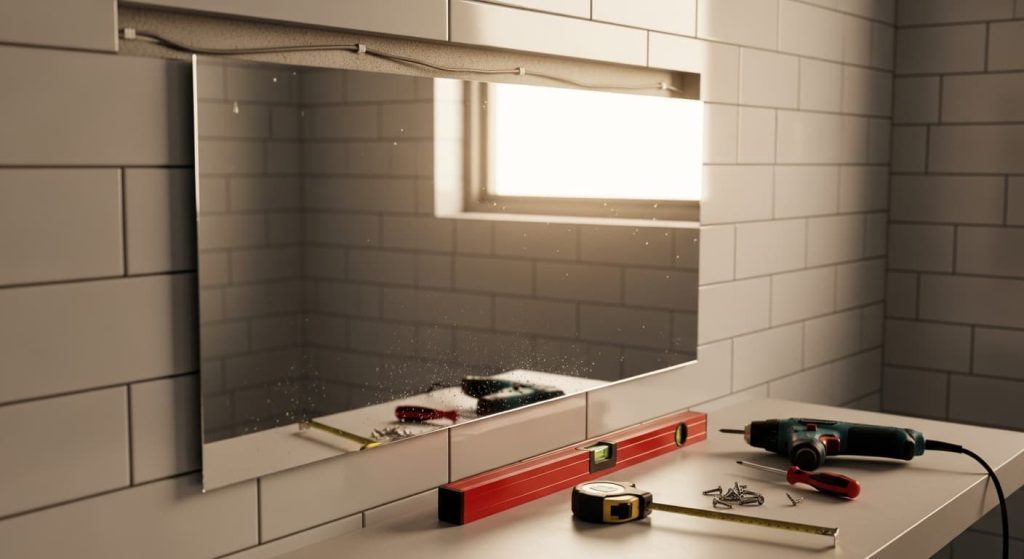
If a mirror isn’t mounted flush against the wall, wires can become pinched or stretched, leading to connection failures. Ensure the mirror sits flat and level against the mounting surface. A pinched cable can short-circuit, creating a fire hazard, or simply break the connection over time.
Some mirrors require specific mounting hardware or brackets. Using incorrect hardware can stress electrical connections and cause intermittent problems. Always use the mounting system provided by the manufacturer.
Incompatible Power Sources
LED mirrors require a specific voltage, typically 12V or 24V DC. Connecting them directly to 120V AC household current without the proper transformer will destroy the LEDs immediately.
Verify that your power driver matches your mirror’s requirements. Check both voltage and wattage—undersized drivers won’t provide enough power, while oversized ones can damage components.
Skipping Safety Steps
Bathrooms are wet environments, making proper electrical installation critical. All connections should be made inside a junction box, not simply tucked behind the mirror. Wires must be properly insulated and protected from moisture.
Grounding is essential. The mirror should be connected to your home’s ground wire to prevent electrical shocks. Never cut off or bypass the ground wire.
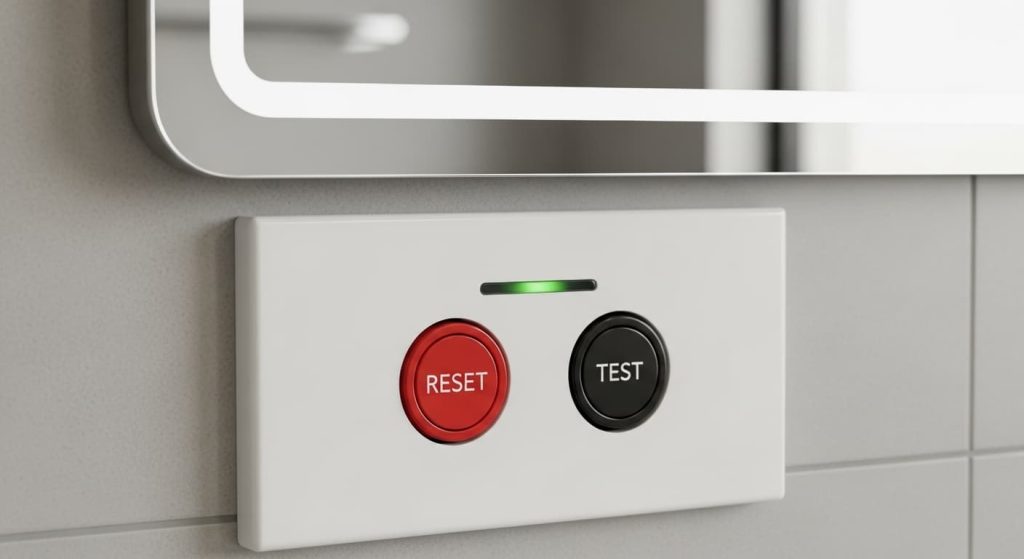
GFCI (Ground Fault Circuit Interrupter) protection is required for bathroom electrical installations in most building codes. This is not just a recommendation; it’s the law in most regions. This device cuts power immediately if it detects a ground fault, protecting you from electrocution. Ensure your mirror’s circuit is GFCI-protected.
When to Call a Professional
DIY troubleshooting has limits. Recognize when it’s time to bring in an electrician.
Call a professional if you encounter any of these situations:
- Circuit breakers repeatedly trip when you turn on the mirror
- You smell burning or see scorch marks on wires or components
- You’re uncomfortable working with electrical systems
- The problem persists after basic troubleshooting
- Your home has aluminum wiring (common in houses built between 1965 and 1973), which requires special handling
- You need to install new electrical circuits or modify existing ones
- If your mirror is integrated with smart home features (e.g., Bluetooth, voice control) and the electrical troubleshooting hasn’t resolved a connectivity issue.
Electrical work can be dangerous. If you feel uncertain at any point, stop and consult an expert. The cost of professional help is far less than the cost of injury or property damage.
Maintenance Tips to Prevent Future Problems
Prevention is easier than repair. These simple habits keep your LED and anti-fog mirror functioning properly for years.
Establish a Cleaning Routine

Clean your mirror weekly with appropriate products. Avoid harsh chemicals, especially those containing ammonia, which can damage LED components and heating elements over time. Using a microfiber cloth will prevent scratches and lint buildup better than paper towels.
Wipe away moisture after showers to reduce stress on the anti-fog system. While the heater prevents fogging, constantly running it at maximum capacity shortens its lifespan.
Inspect Connections Periodically
Every few months, turn off the power and check that connections remain secure. Vibrations from daily use can gradually loosen wire nuts and terminal screws.
Look for signs of moisture intrusion around the mounting area. If you spot water damage, address it immediately before it affects electrical components.
Use Your Mirror Properly
Don’t exceed the weight capacity of shelves or hooks attached to your mirror. Extra weight can stress the mounting system and potentially damage internal wiring.
If your mirror has touch controls, use gentle pressure. Aggressive tapping can damage the sensors over time.
Avoid hanging wet towels or clothing directly on the mirror, as constant moisture exposure accelerates wear on electrical components.
Monitor Performance
Pay attention to changes in your mirror’s performance. Gradual dimming of LEDs or longer warm-up times for the anti-fog feature often signal developing problems. Addressing these early prevents complete failures later.
Keep a record of when you installed your mirror and any maintenance you’ve performed. This information helps troubleshoot recurring issues and provides context if you need to contact the manufacturer.
Keep Your Mirror Working Flawlessly

LED and anti-fog bathroom mirrors combine convenience with modern design, but like any electrical device, they require occasional troubleshooting. Most problems have straightforward solutions you can handle yourself—checking power sources, securing loose connections, or replacing worn components.
Remember that safety always comes first when working with electrical systems. If you’re unsure about any repair, consult a licensed electrician. The investment in professional help protects both you and your home.
With proper maintenance and prompt attention to problems, your smart bathroom mirror will provide reliable service for many years. Start with the simple fixes outlined here, and you’ll likely have your mirror working perfectly before the day is done.
Frequently Asked Questions
Why do my LED lights flicker?
Usually an incompatible dimmer switch or a failing power driver. Try an LED-compatible dimmer first.
How long should anti-fog take to work?
2 to 5 minutes. If longer, clean the glass and check the heating pad’s adhesion.
Can I replace LED strips myself?
Yes, but match the polarity (+ and -) and order manufacturer-approved replacements.
Why does the mirror still fog if the heater feels warm?
Poor heat transfer. The heating pad may be loose or the glass has residue buildup.
Is it safe to leave the mirror on all night?
Not recommended. It can wear out the driver and LEDs faster.
My touch controls stopped working. What now?
Wipe dry first. If that fails, check connections behind the mirror or contact the manufacturer.