A plain, builder-grade mirror can feel like an afterthought in an otherwise beautiful room. However, you don’t need to replace it to achieve a high-end look. By learning how to frame a wall mirror, you can create a stylish focal point that adds character to your bathroom, bedroom, or entryway without breaking the bank.
Whether you are hunting for bathroom mirror border ideas or want to add a rustic touch to a large living room mirror, this DIY guide is packed with inspiration to help you get started.
Why Should You Frame a Wall Mirror?
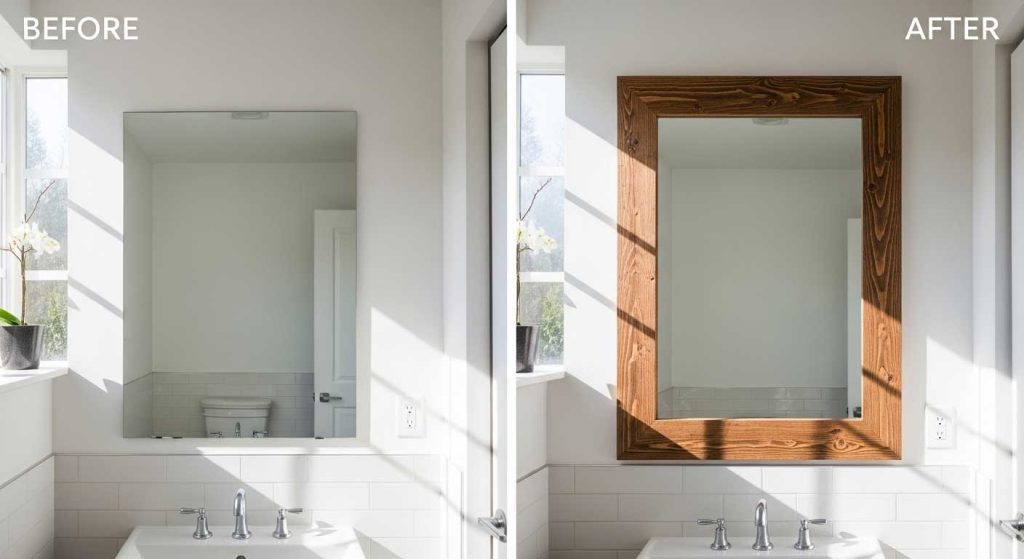
Unframed mirrors are functional, but they often lack the “finished” look of professional interior design. Adding a custom frame offers several benefits:
- Hides Imperfections: Perfect for covering worn or “desilvered” edges.
- Customization: Allows you to match your mirror to your existing cabinetry or décor.
- Increases Value: A framed mirror looks like a custom fixture rather than a cheap stick-on.
- Cost-Effective: It is significantly cheaper to frame an existing mirror than to buy a new pre-framed one.
Essential Supplies for Your DIY Mirror Project
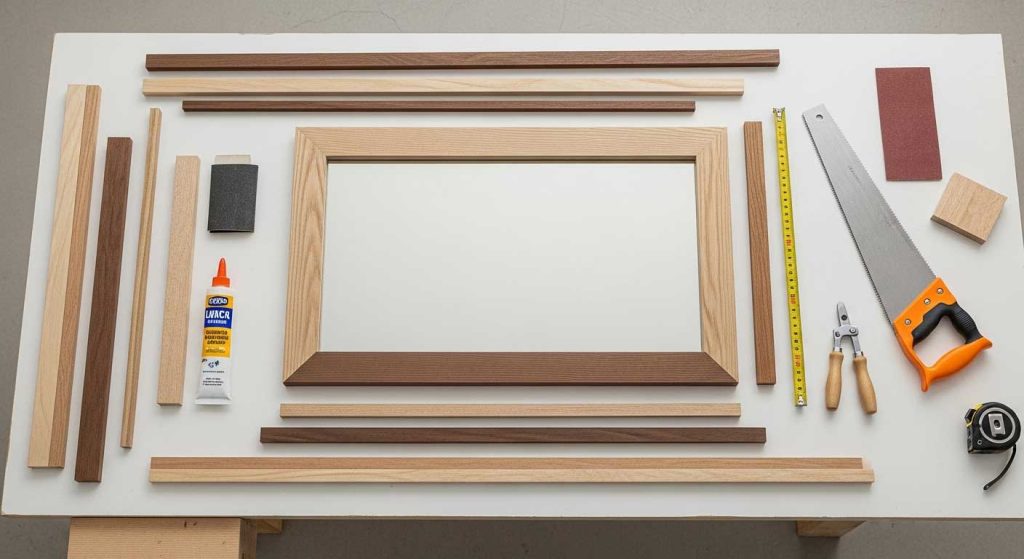
Framing a mirror doesn’t require a full workshop. You can find most of these materials at a local hardware store.
| Category | Items Needed |
| Tools | Measuring tape, miter saw (or handsaw with a miter box), sandpaper, level. |
| Materials | Wood trim or molding, wood glue, heavy-duty construction adhesive (e.g., Liquid Nails). |
| Finishing | Paint or stain, wood filler, painter’s tape. |
| Safety | Safety goggles, work gloves. |
Step-by-Step Guide: How to Frame a Wall Mirror

Follow these steps to ensure a professional-looking finish for your DIY project.
1. Measure Twice, Cut Once
Start by measuring the exact height and width of your mirror. If your mirror is held by plastic clips, you will need to build the frame thick enough to clear them, or “notch” the back of the wood to fit over the clips.
2. Select Your Material
- Modern: Use flat, primed MDF or poplar for a sleek, painted finish.
- Rustic: Opt for reclaimed pallet wood or cedar.
- Classic: Choose crown or baseboard molding with decorative Ridges.
3. Cut the Mitered Edges
To learn how to frame a wall mirror with seamless corners, cut your wood at a 45-degree angle using a miter saw. Pro Tip: If you aren’t comfortable with angles, use “corner blocks” to create a square frame that requires only straight 90-degree cuts.
4. Sand and Finish
Always paint or stain your wood before it goes on the wall. This prevents paint from getting on the glass and ensures the back of the wood (which might reflect in the mirror) is also coated.
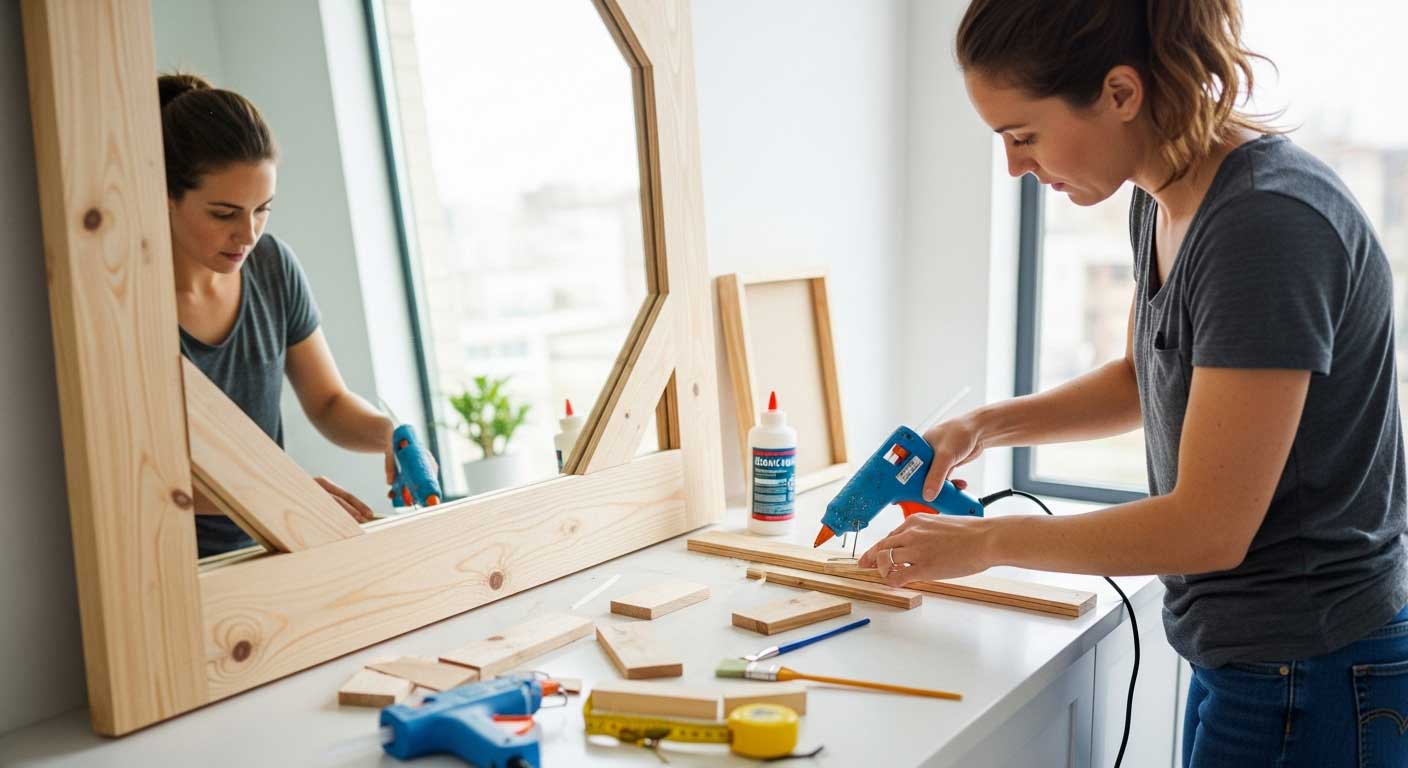
5. Installation
Apply a heavy-duty construction adhesive to the back of your frame pieces. Press them directly onto the glass. Use painter’s tape to hold the pieces in place for 24 hours while the glue cures.
Creative DIY Mirror Frame Ideas
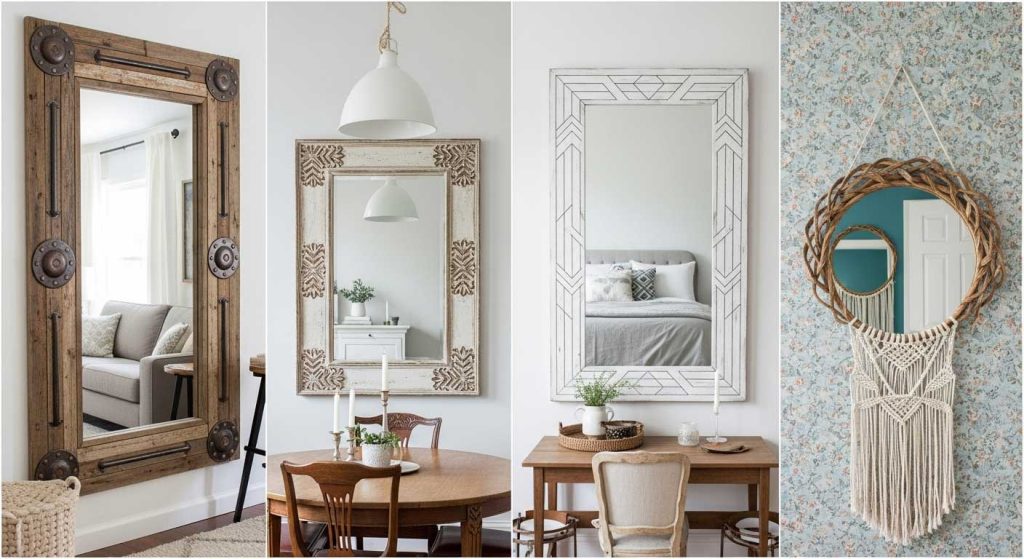
If you want something more unique than standard wood trim, consider these trending styles:
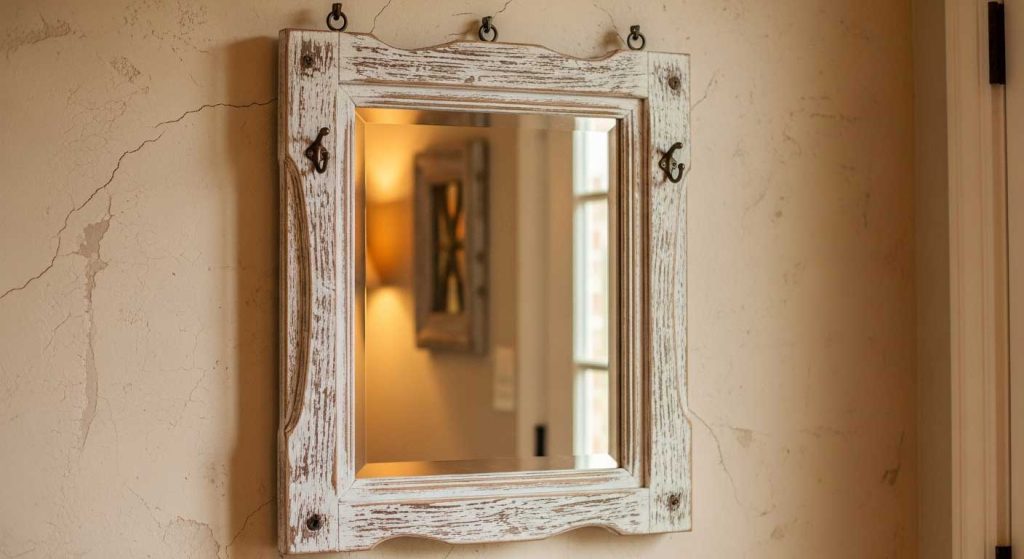
The Rustic Farmhouse Look
Use weathered barn wood or shiplap to create a large rustic wall mirror. This is a staple for entryway “statement” pieces.
The Industrial Vibe
Incorporate metal L-brackets on the corners of a simple wood frame to give it an urban, loft-style aesthetic.
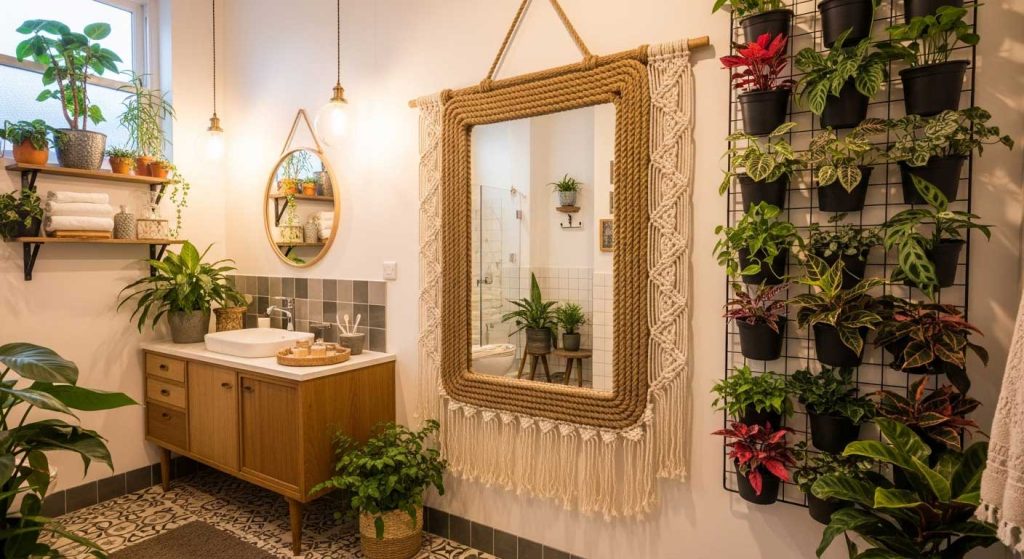
Boho Chic & Textures
For a softer look, skip the wood and wrap the border in jute rope, macramé, or even colorful mosaic tiles.
Mirror Wall in a Shower
For a dramatic, spa-like feel, you can build a mirror wall. This involves placing multiple mirrored panels together and framing the entire section with moisture-resistant PVC molding to prevent water damage.
Safety and Maintenance Tips
- Adhesive Choice: Ensure your adhesive is “mirror-safe.” Some standard glues contain chemicals that can eat through the silver backing of the mirror.
- Weight Support: If you are building a heavy frame for a mirror that isn’t already mounted, ensure you use wall anchors rated for the total weight.
- Safety First: Always wear goggles when cutting wood and gloves when handling large glass sheets.
Final Thoughts
Learning how to frame a wall mirror is one of the most rewarding “weekend wins” for any DIY enthusiast. It’s a low-risk project with a high-impact reward. Whether you’re sprucing up a powder room or creating a vintage wood wall mirror for your bedroom, the right frame makes all the difference.
Frequently Asked Questions
Can I frame a mirror that is already on the wall?
Yes! Most DIYers frame bathroom mirrors while they are still mounted. Use adhesive and tape to secure the frame in place until it dries.
What is the cheapest way to frame a mirror?
Using “peel-and-stick” vinyl molding or simple pine lattice strips is the most budget-friendly method, often costing under $20.