A basic mirror is a blank canvas. While it serves a practical purpose, a plain mirror offers a fantastic opportunity to unleash your creativity and add a personal touch to your home decor. With a bit of imagination and some simple materials, you can transform a generic mirror into a one-of-a-kind statement piece that perfectly reflects your style.
This guide is packed with creative DIY mirror ideas, from adding custom frames to embellishing with unique materials. We’ll provide step-by-step instructions for a few popular projects and share tips to ensure your creation looks polished and professional, not homemade. Get ready to turn that simple mirror into a stunning work of art.
Why DIY Your Mirror?
Customizing a mirror yourself is more than just a fun weekend project. It allows you to:
- Save Money: Designer mirrors can be expensive. A DIY approach lets you achieve a high-end look for a fraction of the price.
- Express Your Style: You get to create a piece that perfectly matches your specific decor theme, whether it’s bohemian, coastal, modern, or glam.
- Upcycle and Refresh: Give a new lease on life to an old, dated mirror or a cheap, plain one. It’s a sustainable way to refresh your decor.
- Create a Unique Focal Point: A custom mirror is a conversation starter and a piece of art that is uniquely yours.
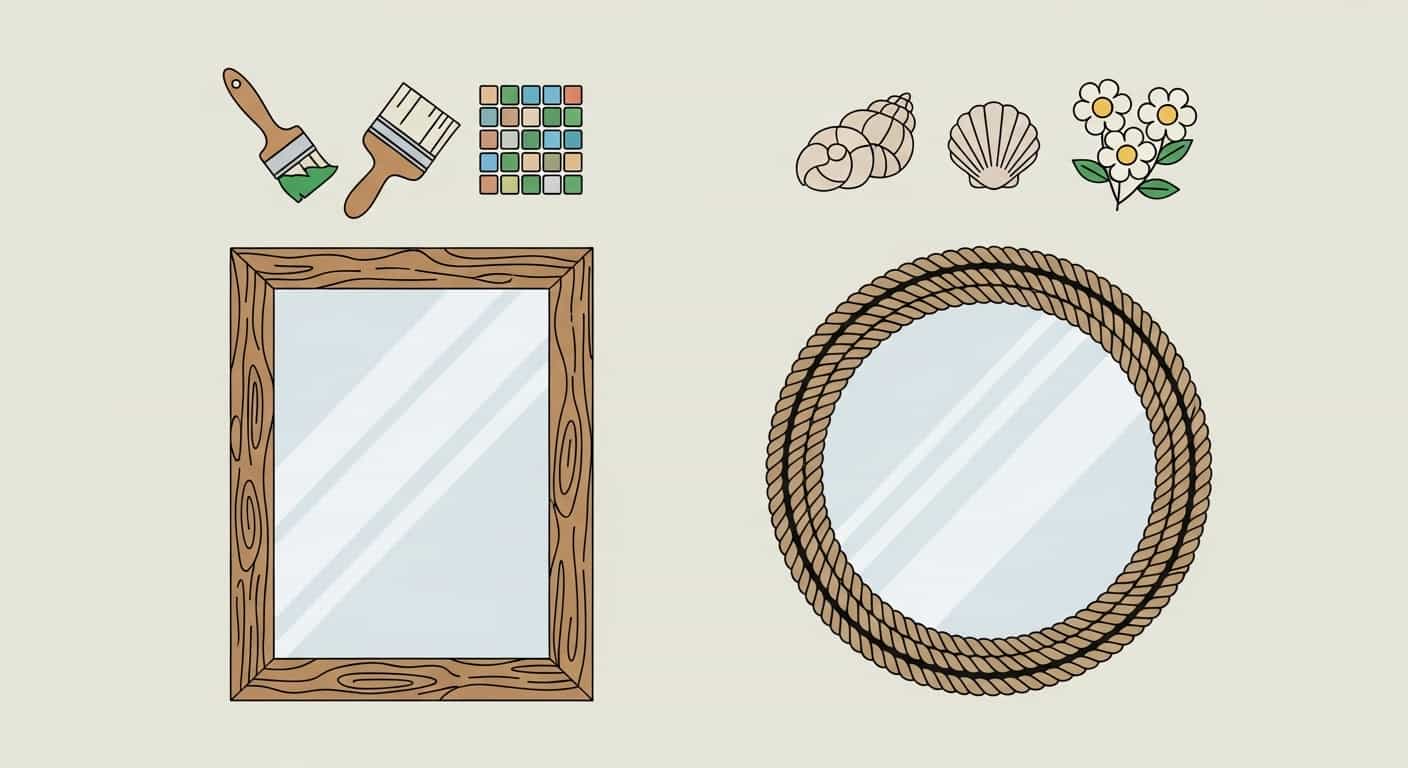
Project 1: The Rustic Farmhouse Wood Frame
This project is perfect for adding warmth and character to a plain, frameless mirror. It’s a classic look that complements farmhouse, rustic, and even some modern interiors.
Materials You’ll Need:
- A frameless rectangular or square mirror
- 1×4 or 1×6 wood planks (pine or common board works well)
- Wood stain or paint in your desired color
- Wood glue
- Construction adhesive or mirror mastic
- Sandpaper (medium and fine grit)
- Miter saw or hand saw with a miter box
- Tape measure
- Pencil
- Rags or brushes for staining/painting
Step-by-Step Instructions:
- Measure and Cut Your Wood:
Measure the height and width of your mirror. To create the frame, you’ll need to cut four pieces of wood with 45-degree mitered corners. Each piece of wood should be long enough to cover one side of the mirror. For example, if your mirror is 24″ x 36″, you will cut two pieces for the 24″ sides and two for the 36″ sides, ensuring your measurements account for the inner edge of the miter cut lining up with the mirror’s edge. - Sand the Wood:
Using medium-grit sandpaper, smooth out any rough spots on your cut wood pieces. Follow up with fine-grit sandpaper to get a super-smooth finish, ready for staining or painting. Pay extra attention to the cut edges. - Stain or Paint the Frame:
Apply your chosen wood stain or paint to all sides of the wood pieces. If staining, use a rag to apply the stain, letting it sit for a few minutes before wiping off the excess. For a more weathered look, you can dry-brush a lighter paint color over the stain once it has dried. Allow the pieces to dry completely according to the product’s instructions. - Assemble the Frame:
On a flat surface, lay out your four frame pieces in a rectangle, with the mitered corners fitting together. Apply wood glue to the mitered edges of each piece and press them together firmly. You can use corner clamps to hold them in place while the glue dries for a stronger bond. - Attach the Mirror:
Once the frame’s glue is fully cured, flip it over so the back is facing up. Apply a generous amount of strong construction adhesive or mirror mastic to the back of the mirror. Carefully center the mirror on the back of the wood frame and press down firmly. Place heavy objects (like books) on the mirror to ensure a strong bond and let it cure for at least 24 hours. - Hang Your Creation:
Attach heavy-duty picture-hanging hardware (like a French cleat or D-rings with wire) to the back of the wood frame and hang your new farmhouse mirror.
Project 2: The Bohemian Rope-Framed Mirror
This project is incredibly simple and adds a wonderful touch of natural, coastal, or bohemian texture to any space. It works especially well with round mirrors.
Materials You’ll Need:
- A round frameless mirror
- Thick natural fiber rope (like jute or sisal), enough to wrap around the mirror multiple times
- Hot glue gun and plenty of glue sticks
- Scissors or a utility knife
- Felt or cardboard (optional, for backing)
Step-by-Step Instructions:
- Prepare Your Workspace:
Lay your mirror face up on a protected surface. Have your hot glue gun plugged in and ready to go. - Start the First Coil:
Apply a bead of hot glue directly onto the edge of the mirror. Quickly and carefully press the end of your rope onto the glue, holding it for a few seconds until it sets. - Continue Wrapping the Rope:
Work in small sections of 3-4 inches at a time. Apply a line of hot glue along the edge of the mirror and press the rope into it. As you complete the first loop, start the next coil by applying glue to the side of the rope you just laid down. Continue coiling the rope around itself, gluing it to the previous layer. - Build Out the Frame:
Keep coiling the rope, layer by layer, until the frame reaches your desired thickness. For a subtle look, 2-3 coils might be enough. For a more dramatic statement, you could do 5 or more. - Finish the Edge:
Once you’re happy with the size of your frame, cut the rope at an angle. Secure the end firmly with a generous dot of hot glue, tucking it in neatly against the previous coil. - Add a Backing (Optional but Recommended):
For a cleaner look and added stability, you can cut a piece of felt or cardboard slightly smaller than the mirror’s diameter and glue it to the back. This will cover any glue drips and provide a more finished appearance. Be sure to attach a picture hanger to the backing before gluing it down if your mirror doesn’t already have one.
More Creative DIY Mirror Ideas
- Glamorous Gold Leaf: Apply gold leaf sheets to an existing mirror frame for an instant touch of luxury. Use adhesive size, carefully apply the delicate sheets, and seal with a top coat.
- Mosaic Tile Border: Use small glass mosaic tiles to create a colorful, custom frame around a frameless mirror. Glue the tiles on with a strong adhesive and finish with grout for a professional look.
- Coastal Seashell Design: Perfect for a beach house or coastal-themed bathroom. Collect shells and sea glass and use a hot glue gun or E6000 adhesive to attach them around the edge of a mirror.
- Painted Geometric Patterns: Use painter’s tape to create bold, geometric patterns directly on the surface of the mirror or on its frame. Paint inside the lines with glass paint (for the mirror) or regular paint (for the frame) for a modern, artistic look.
- Faux Flower Embellishment: For a romantic or whimsical touch, use a hot glue gun to attach high-quality faux flowers and greenery around the frame. This is especially beautiful for a vanity or bedroom mirror.
Conclusion: Reflect Your Creativity
Your home should be a reflection of you, and what better way to ensure that than by customizing the mirrors themselves? Whether you’re building a rustic frame from scratch, coiling rope for a bohemian vibe, or adding a touch of glamour with gold leaf, these DIY projects offer an accessible way to create beautiful, personalized decor. So grab that plain mirror and a few supplies, and get ready to craft a piece that showcases your unique style.