Mounting a mirror in a frame may seem tricky, but once you learn how to mount a mirror in a frame correctly, it becomes a simple, even satisfying DIY task.
You may also like: How to Cut the Mirror: 10 Powerful Tips
In this guide, you’ll learn step-by-step instructions that will help you frame your mirror securely, whether it’s for decorative purposes or structural support. With the right tools and techniques, you’ll not only protect your mirror but enhance your space.
Tools and Materials You’ll Need to Mount a Mirror in a Frame
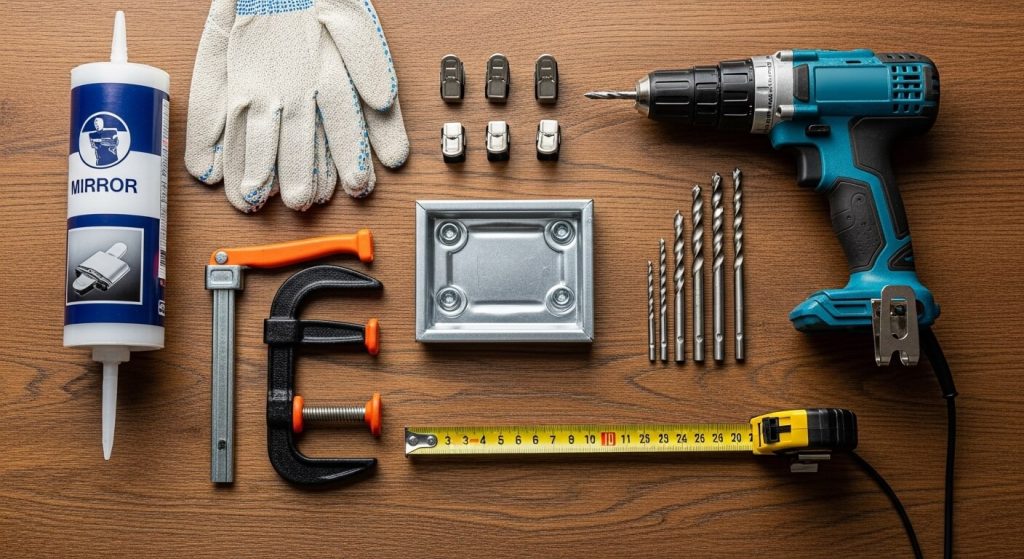
Before you start the process of learning how to mount a mirror in a frame, gather the following items:
- Framed or unframed mirror
- Mirror adhesive or mirror clips
- Safety gloves and eye protection
- Measuring tape
- Screwdriver or drill
- Clamps
- Backing board (optional)
- Mounting hardware (D-rings or hanging wire)
Tip: Always handle the mirror with safety gloves to avoid injury.
Step-by-Step Guide on How to Mount a Mirror in a Frame
Step 1 – Measure Your Mirror and Frame
Begin by measuring both your mirror and frame to ensure they’re a perfect fit. There should be at least 1/8 inch of wiggle room to allow for expansion and easier installation.
Step 2 – Choose Your Mounting Method
There are three popular ways to mount a mirror in a frame:
- Adhesive Method – Best for permanent fixtures.
- Mirror Clips – Great for removable or replaceable mirrors.
- Retainer Brackets or Backing Boards – Ideal for heavy mirrors or wall-mounted frames.
Use a method that fits your aesthetic and functional needs.
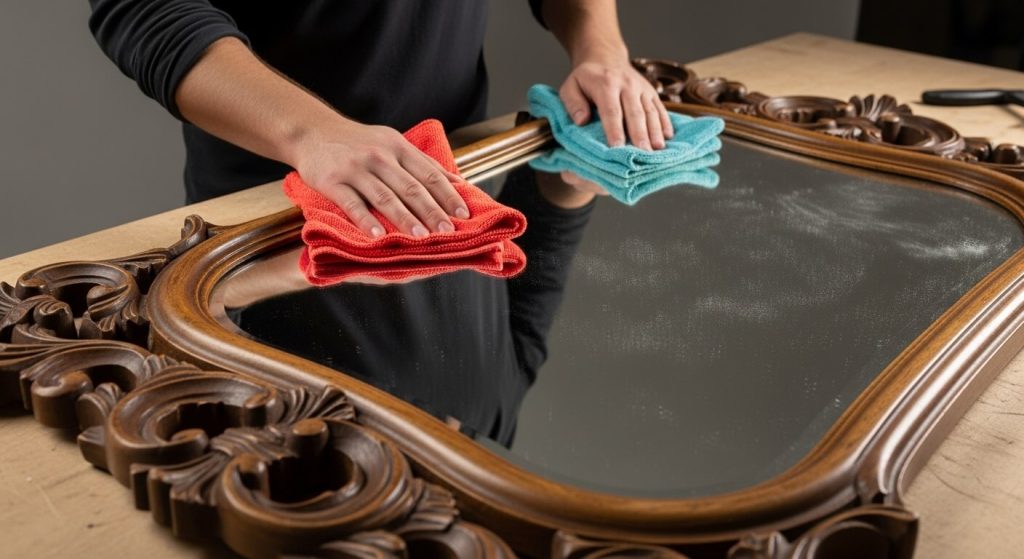
Step 3 – Prepare the Surface
Clean both the back of the mirror and the inside of the frame. Dust or debris can prevent proper adhesion or cause scratches.
Step 4 – Apply Adhesive or Mounting Clips
If using mirror adhesive:
- Apply small beads of adhesive on the back of the mirror, avoiding the edges.
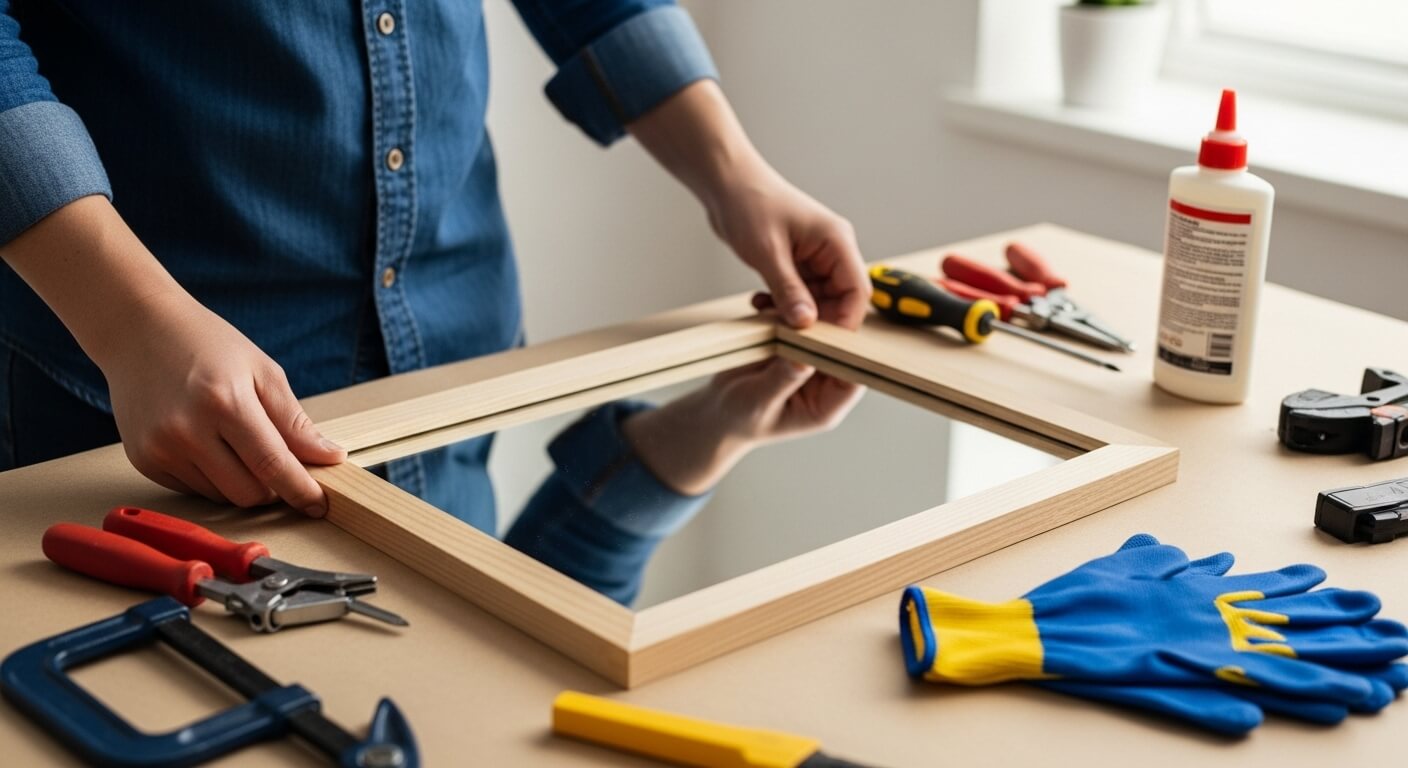
- Press the mirror into the frame.
- Use clamps to hold it in place for at least 24 hours.
If using mirror clips:
- Secure the clips to the inner edges of the frame.
- Slide the mirror into place and tighten the clips gently.
Step 5 – Add a Backing Board (Optional)
A backing board (like MDF or foam core) adds support. It’s especially helpful if you’re using a mirror without a solid backing or if you’re going to hang it on a wall.
Step 6 – Secure Everything in Place
Use retainer clips, nails, or frame tabs to secure the mirror and backing board. Make sure they are snug but not too tight to avoid cracking the glass.
Step 7 – Hang the Framed Mirror (Optional)
Use D-rings and wire for hanging, or secure it with heavy-duty wall anchors if it’s large.
Common Mistakes to Avoid When Learning How to Mount a Mirror in a Frame
- Skipping Measurements: Causes poor fit and instability.
- Using too much adhesive: Can ooze out and damage the mirror backing.
- Not wearing gloves: Risk of injury and fingerprints.
- Overtightening clips: Can crack the glass.
Always follow safety best practices.
Additional Resources
Want to dive deeper into glass framing techniques? Check out:
- How to Frame a Mirror | Family Handyman
- DIY Mirror Frame Ideas | Bob Vila
- Mirror Mounting Techniques | This Old House
How Often Is This Skill Needed?
Framing a mirror is common in:
- Home renovation projects
- Interior design makeovers
- Antique mirror restorations
- Bathroom updates
Knowing how to mount a mirror in a frame gives you full control over customization and budgeting.
Final Thoughts – Mastering How to Mount a Mirror in a Frame
By now, you’ve learned all the essential steps on how to mount a mirror in a frame safely and beautifully. Whether you’re working with a vintage frame or a new custom piece, this process enhances any space.
Not only does it add elegance and depth to your decor, but it also saves you money compared to store-bought framed mirrors.